Triage List
Add New Triage
Add a Triage
On the side menu you will see the Triage tab
Click on the Triage tab
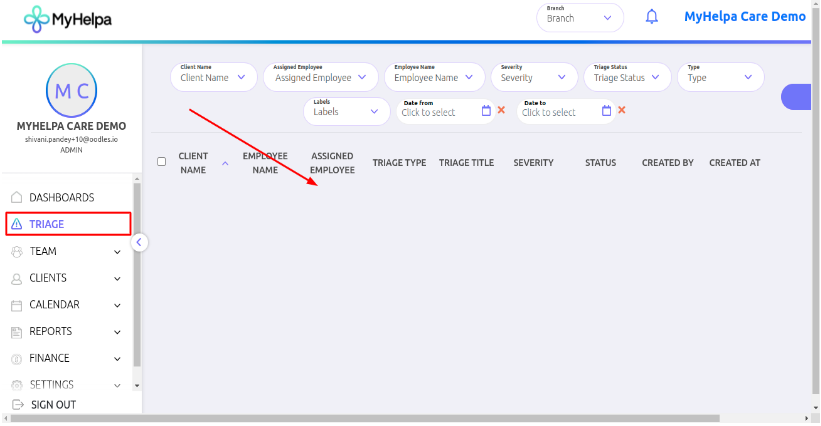
On clicking the Triage tab, the “list of triage” page will show.
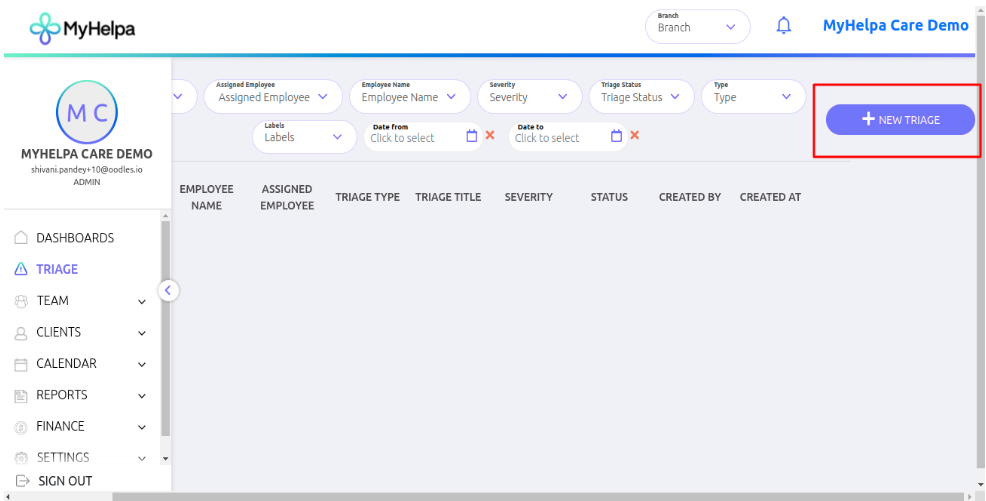
On clicking the “list of triage” page, Add New Triage button will show.
Click on the “Add New Triage” button.
On clicking the “Add new triage” button add triage pop-up will open.
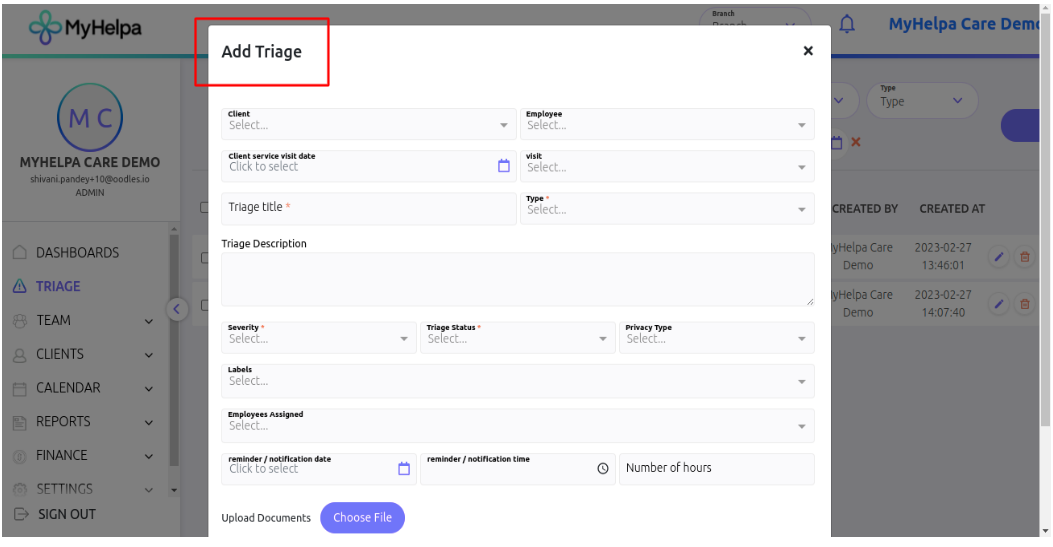
Fill in all the mandatory fields and click on the save button.
On clicking the save button, now you will see the triage is showing on the list of triage page.
The triage should have created and will now appear on this list.
Edit a Triage
How to edit a triage.
Click on the edit icon for the triage that you want to edit
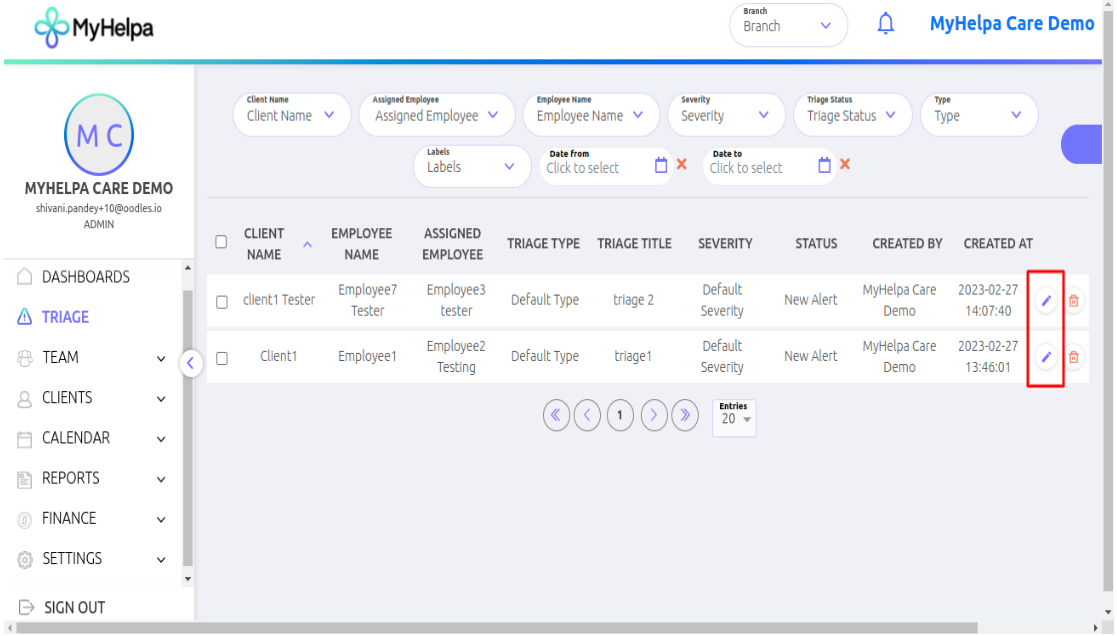
On clicking the edit icon, the Edit Triage pop-up will open
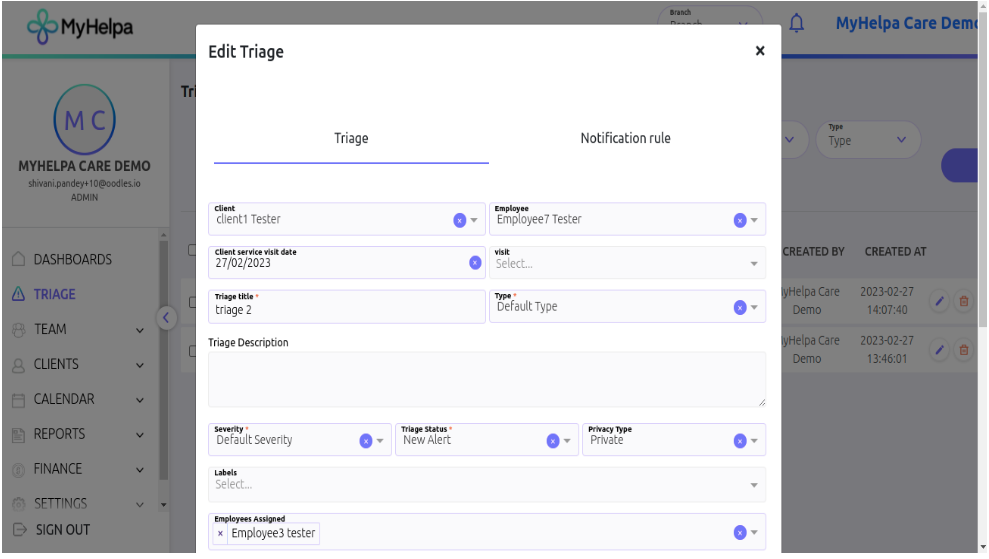
Now you can edit anything which you want to add and you can see on the edit triage pop-up notification tab is also available for adjustment.
Delete a Triage
Deleting a Triage is not recommended unless it was originally created in error.
Instead of deleting the triage it is recommended that you change the triage status to resolved.
Assigning Employee to a Triage
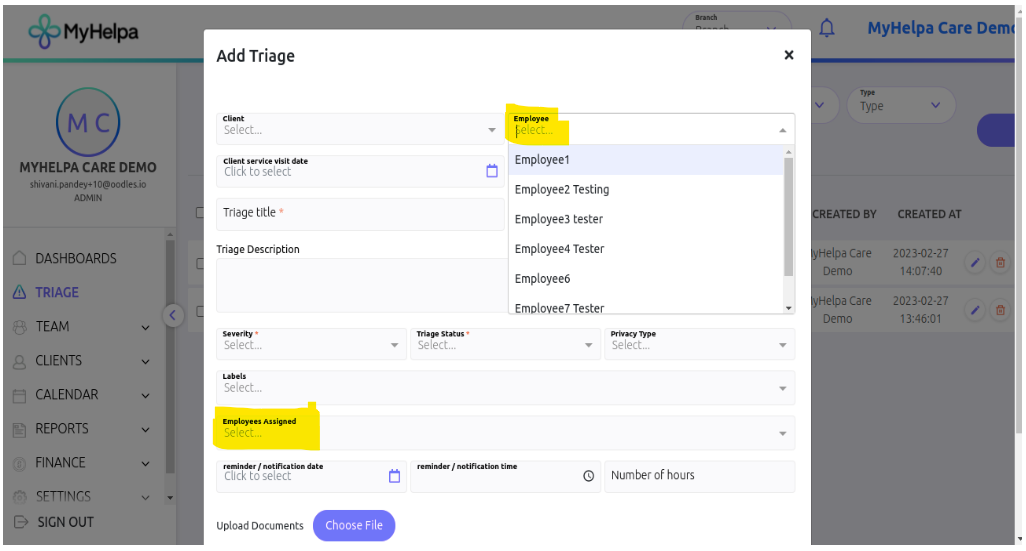
You can assign an employee to a triage using the Employees Assigned field or Employee field.
Normally the employee field is completed when a triage is added at a visit.
This will be the employee name from that visit. However, we can assign employees to help get this triage resolved such as to a care supervisor or registered manager.
When a triage is assigned to an employee the triage will remain on their own triage list until the triage is changed to resolved status.
On clicking the employee drop downs you can select any employee or multiple employees and click save.
Adding a comment to a Triage
When you create a new triage, click on the “add new triage” button
On clicking the “Add new triage” button, add triage pop-up will open then scroll down a little.
Scroll down a bit now you will see the comment section.
Adding comments to the triage until it is resolved is a great way to track any outstanding issues. Adding comments on each triage is a great way to evidence how responsive you are as an provider.
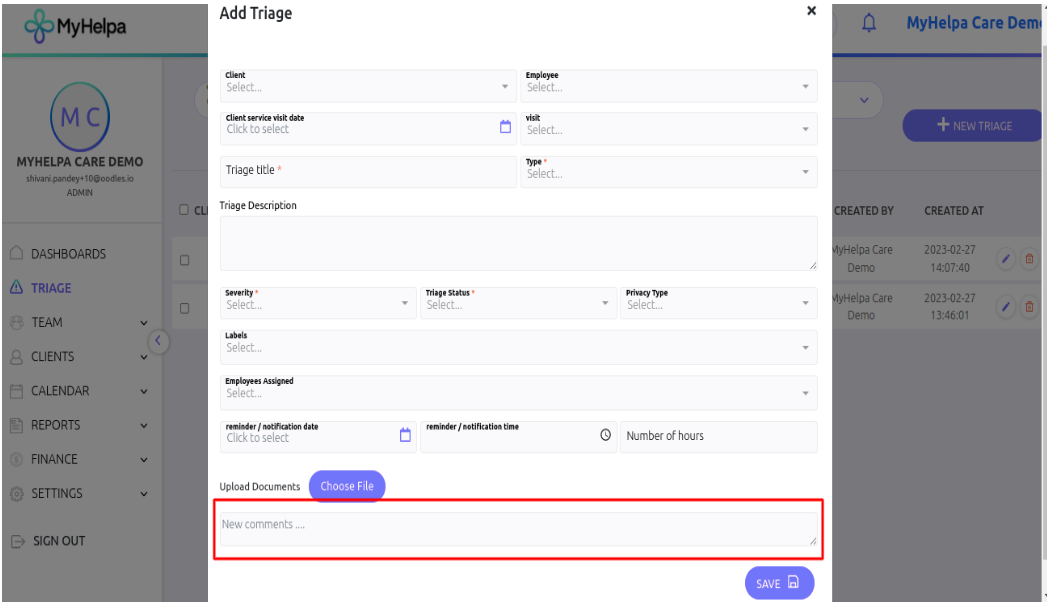
Click on the comment section and add a comment on it and press save.
Resolving a Triage
When you open up an existing triage you will see, the “triage status” drop-down button on the edit triage pop up.
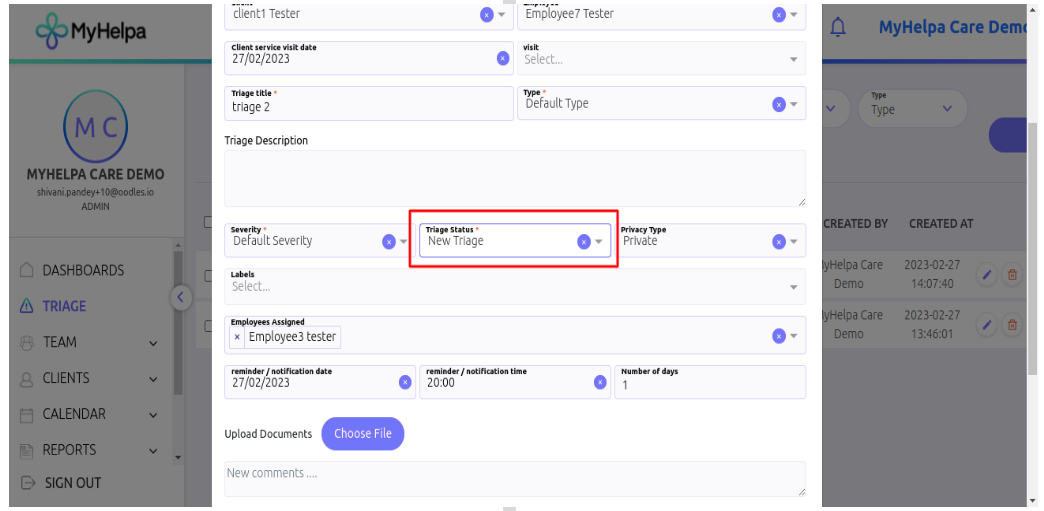
On clicking the “Triage status” drop-down you will see the “Resolved” option on the list
Select the “Resolved” option, and amend any other field which you want to fill and then click the save button.
On clicking the save button, you will see that triage in which you selected the “Resolved” option that Triage is not showing on “List of Triage”
You can still find the resolved triage if you clear all on the triage status filter or you can use search to find the triage again.
Triage Filtering and Searching
If you want to see any data, then clicking on any of the drop-down buttons for the data you want to search.
Select the drop-down and it will be searched, after that your data will be filtered and display on the page.
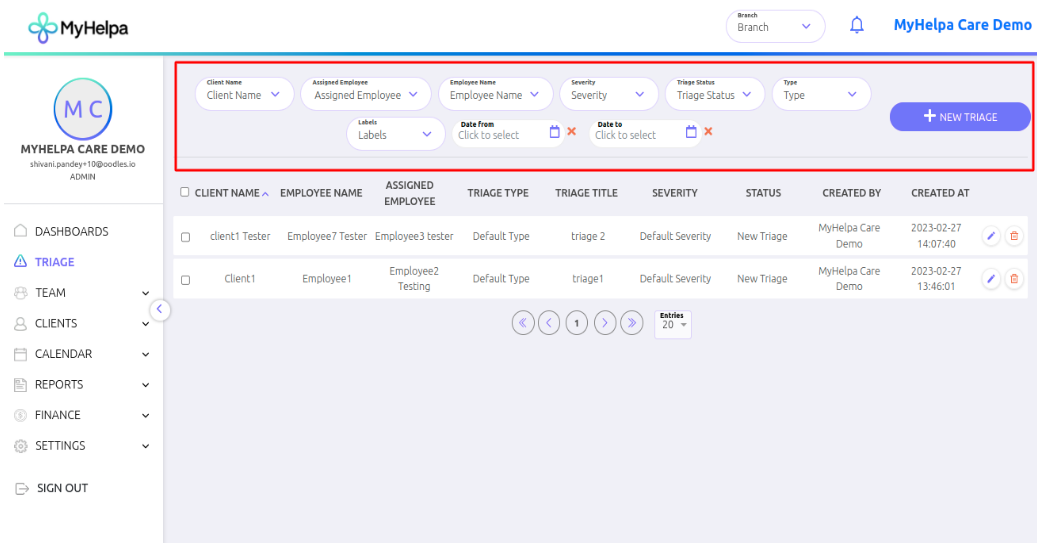
And you can find triage to select a date range by selecting the “date from” button to the “date to” button.